Container Closure Integrity Testing
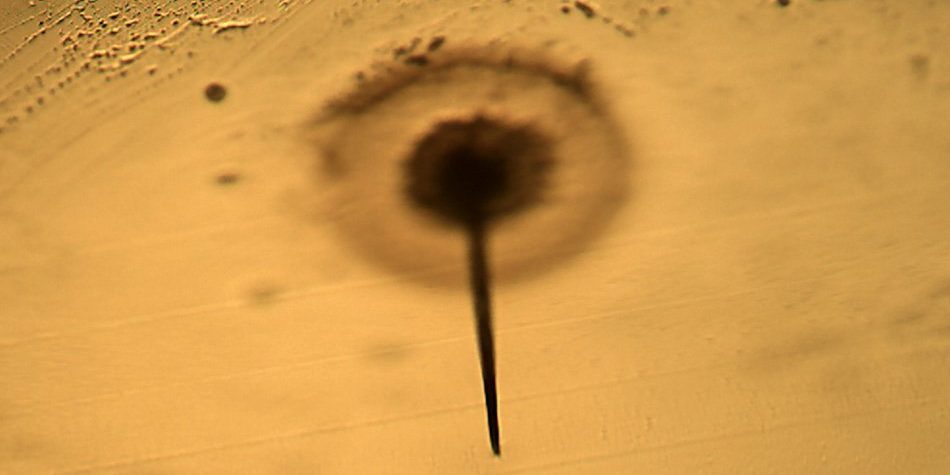
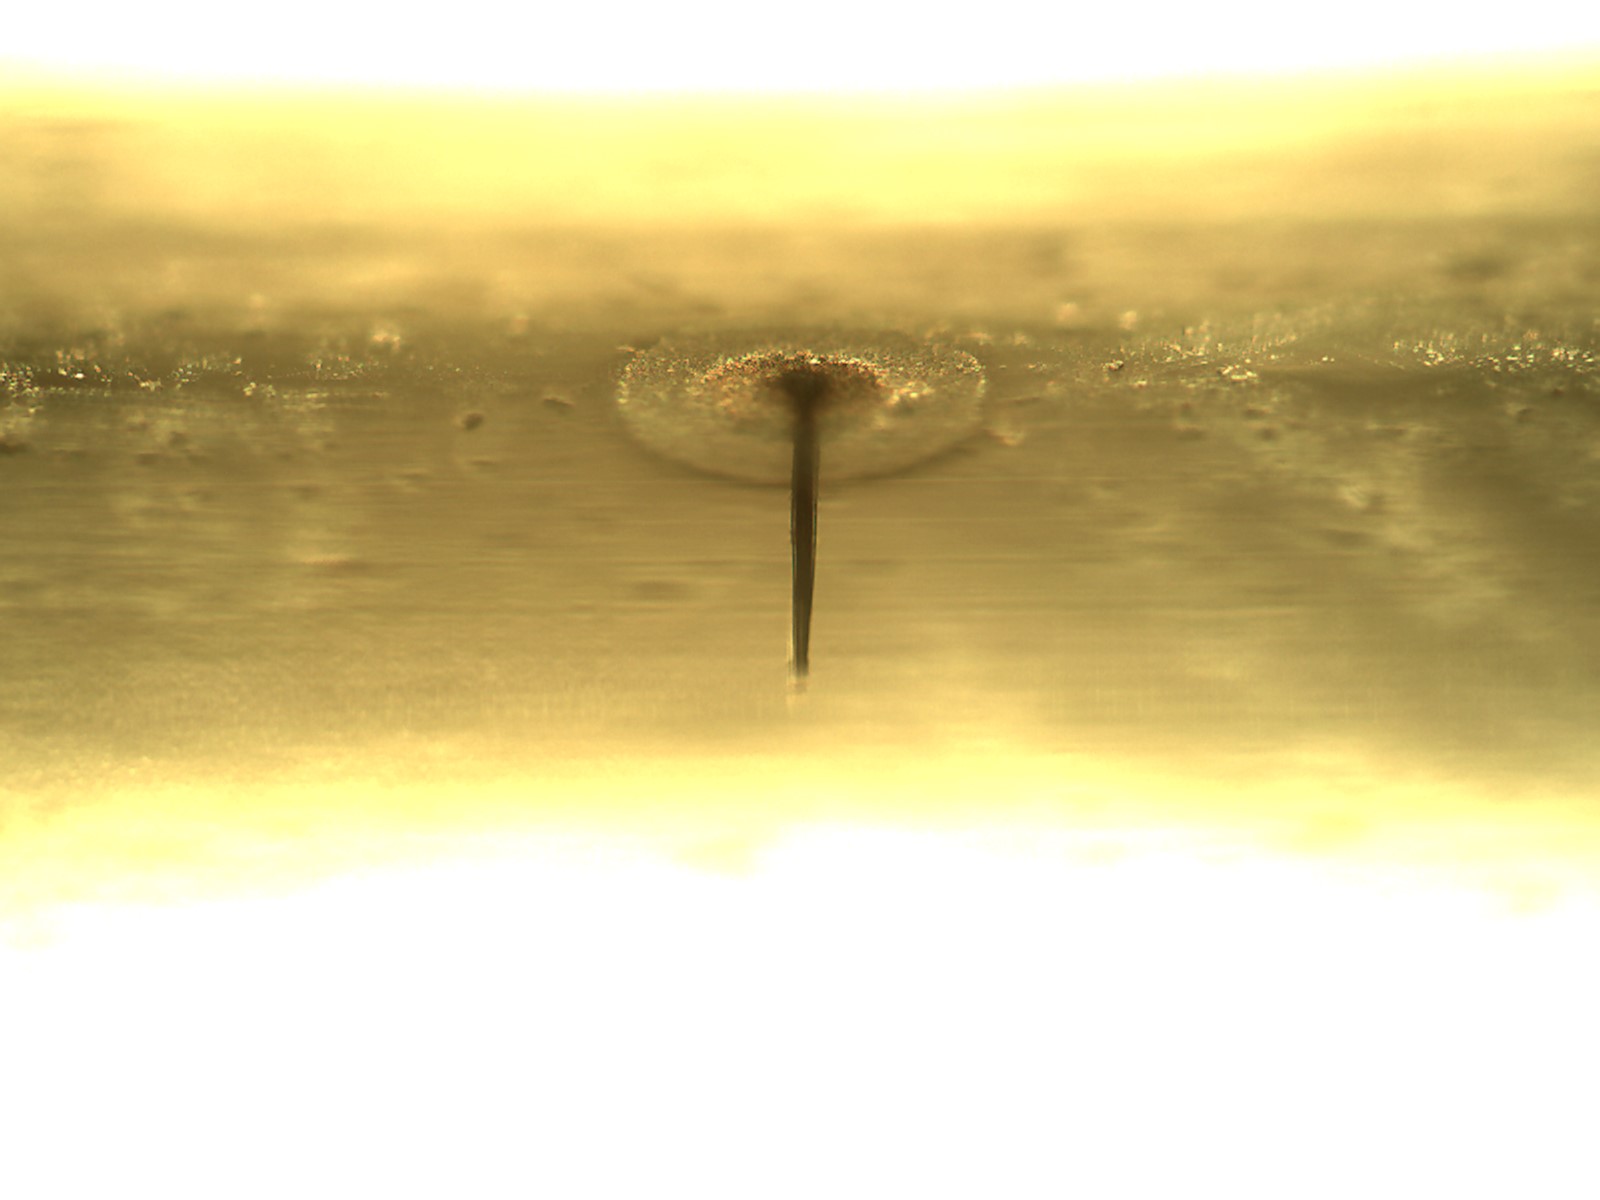
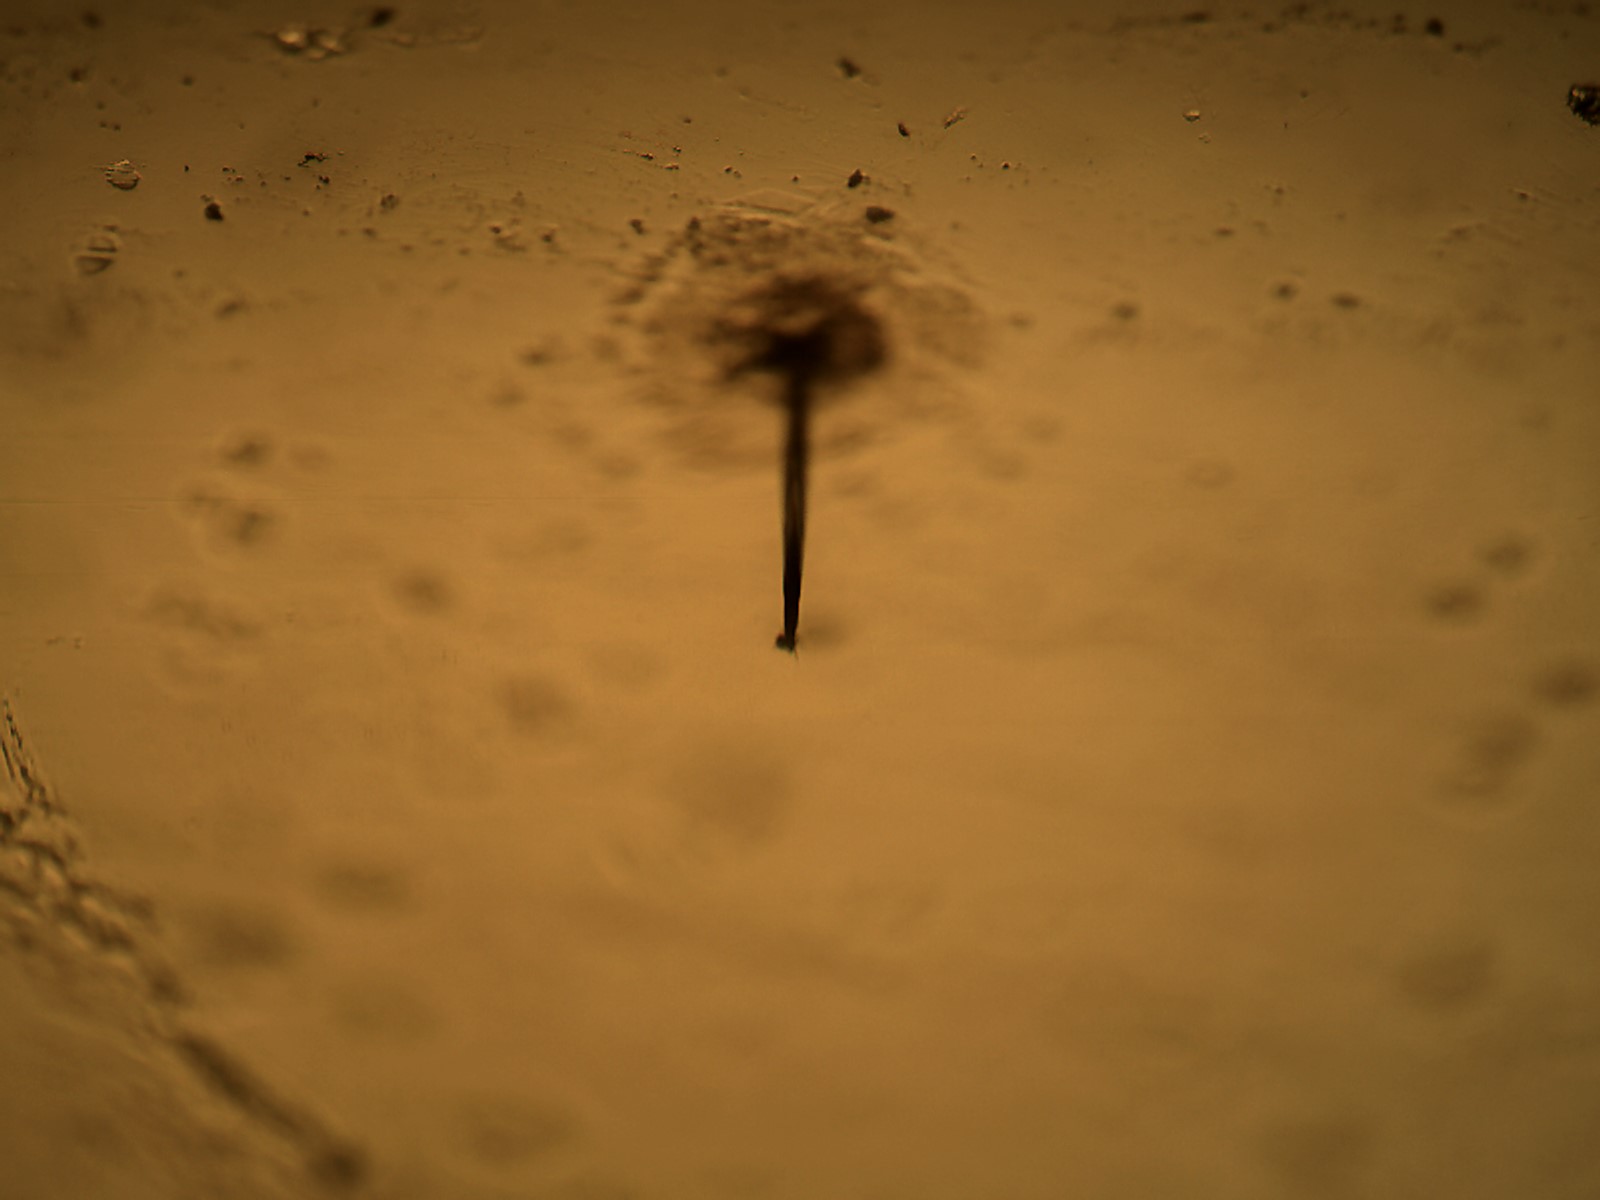
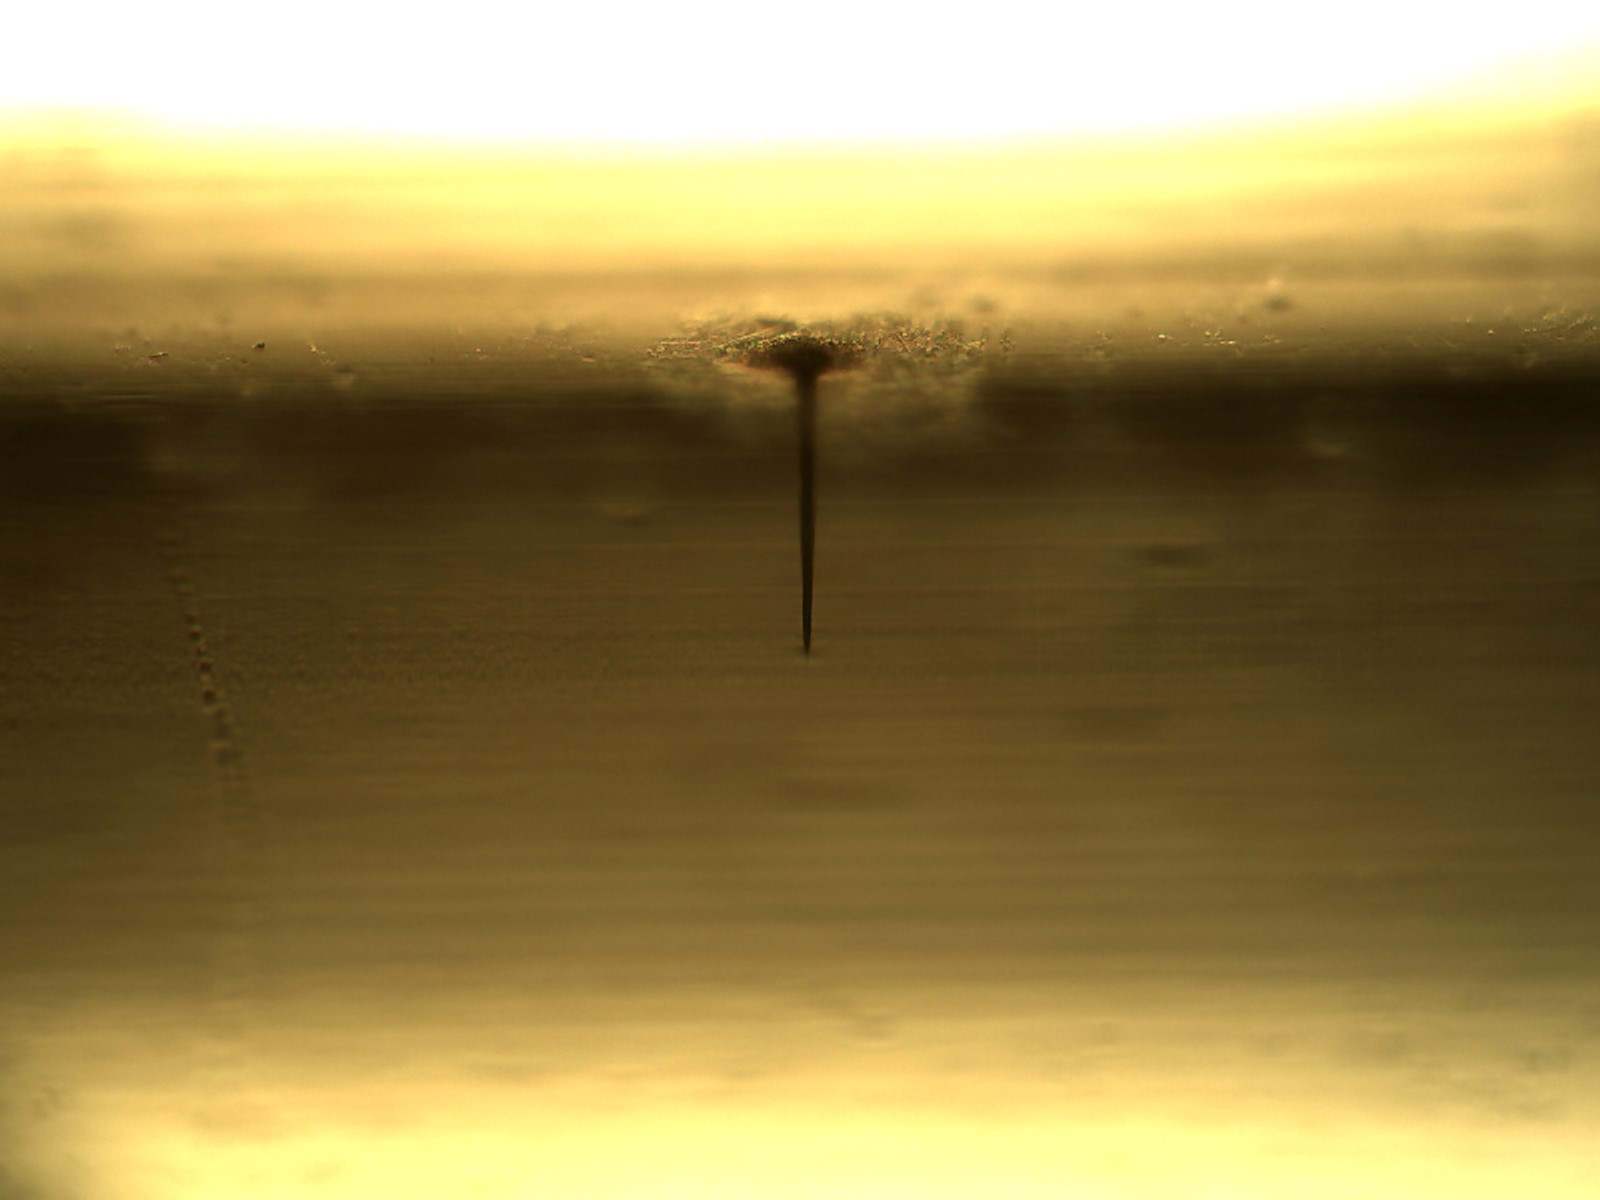
Here we have three examples of creating artificial defects in parts. The first two serve as controls for Container Closure Integrity Testing (CCIT). The first example is for container integrity defect control for pharmaceutical package testing with through holes drilled in SCHOTT Pharma type 2R glass vials. The second example is a through hole drilled into aluminum foil lids for the packaging of medical devices. The third is an artificial defect for testing equipment by laser machining micro-channels in unique patterns and locations in alumina material.
In the first example, our customer requested us to provide them with two sets of parts. The through holes were laser drilled on the bottom of a 1 mm thick glass vials. We used a excimer laser to drill a single micro-hole to have an inside diameter of 10µm ± 2 μm and another series had an inside diameter of 15µm ± 2 μm. Due to the 1 mm thick sidewall of the glass vials, the laser drilled holes were slightly tapered from entrance to exit. All laser-drilled holes were inspected and the vials had exit diameters of 10.2 ± 1.3 μm and 14.8 ± 1.1 μm, respectively. We assessed the parts for any crack or chipping as well as measured all the processed customer supplied part via a NIST traceable means in accordance with our ISO 13485 procedures.
 |
 |
 |
 |
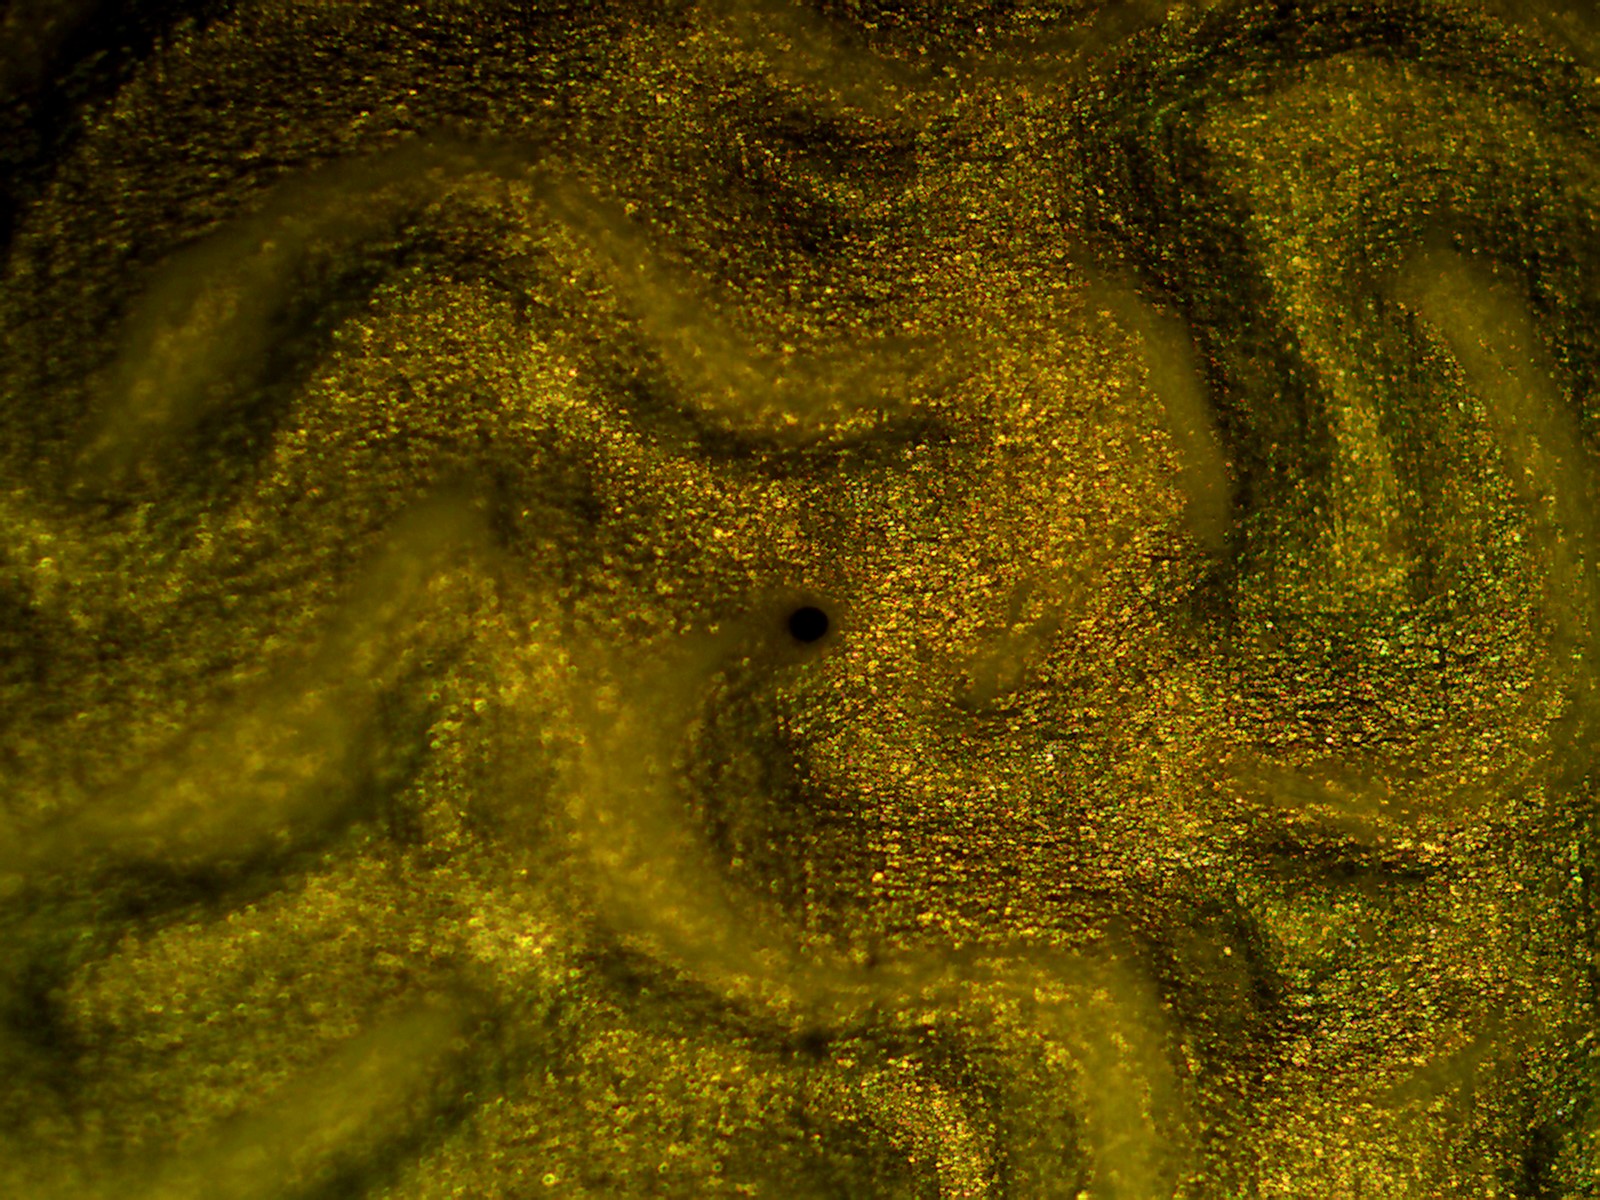
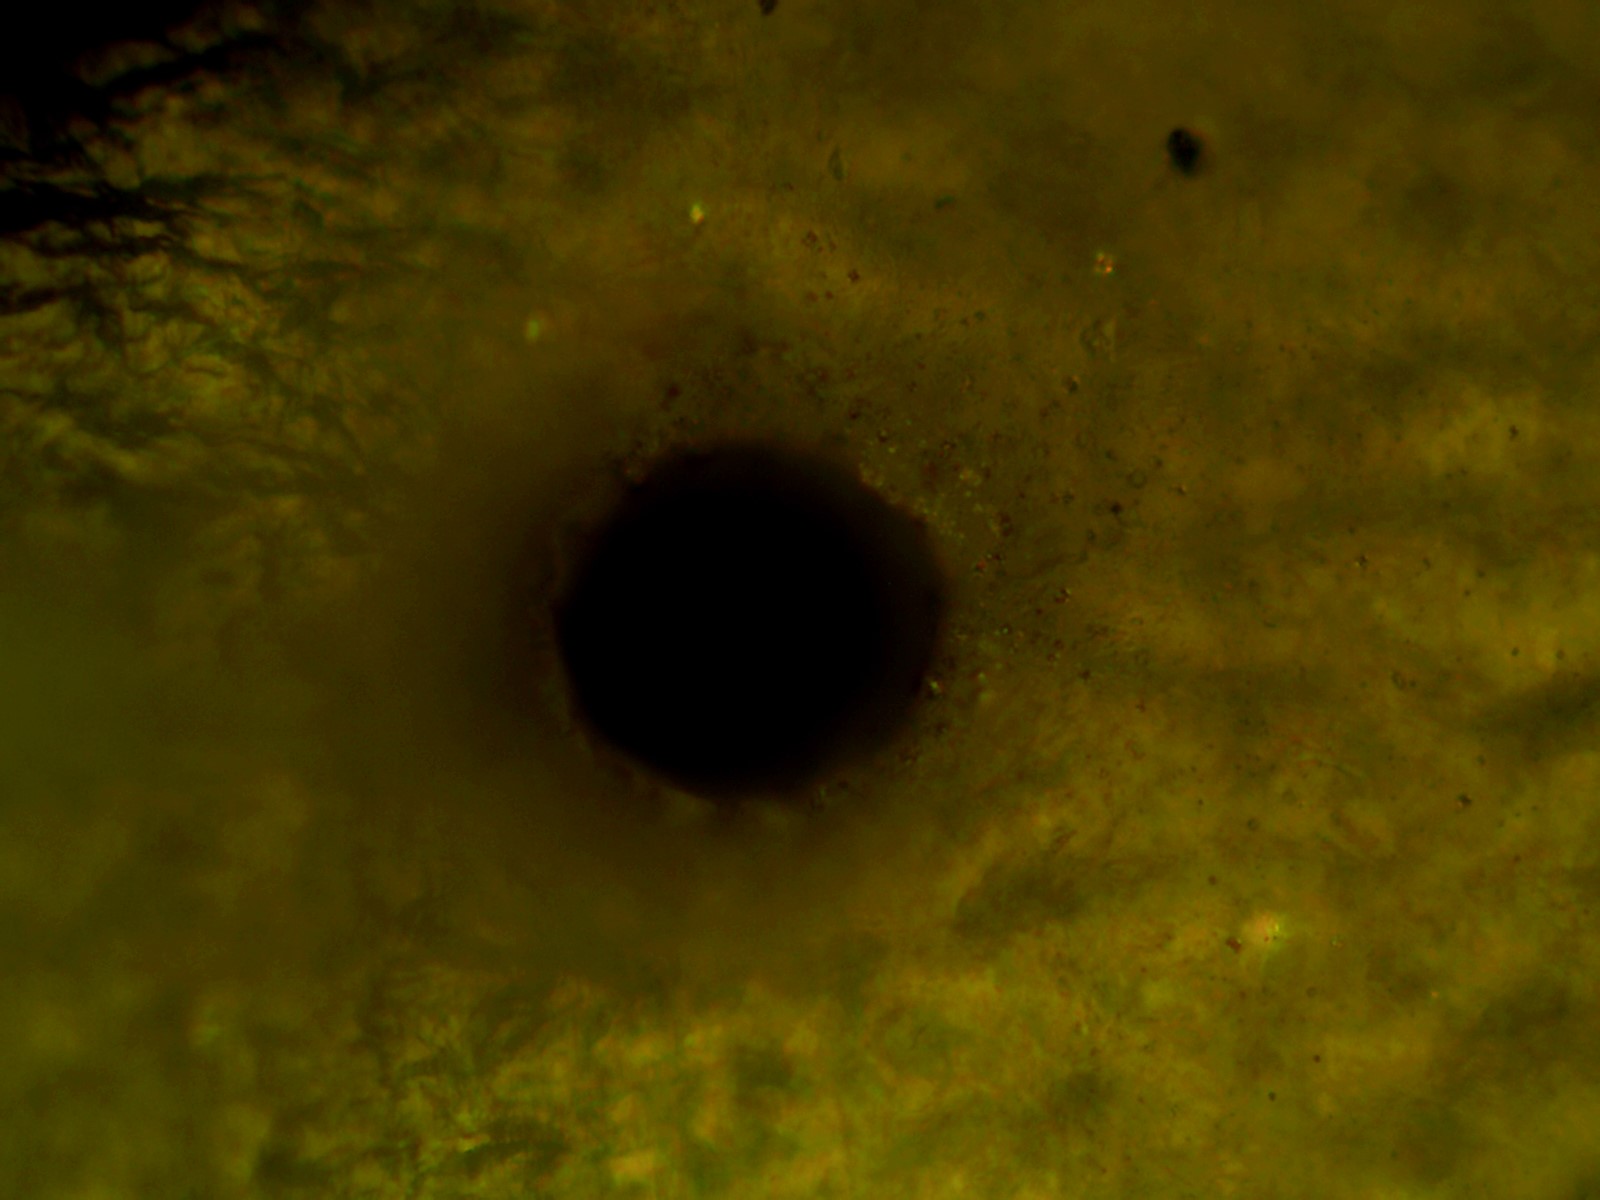
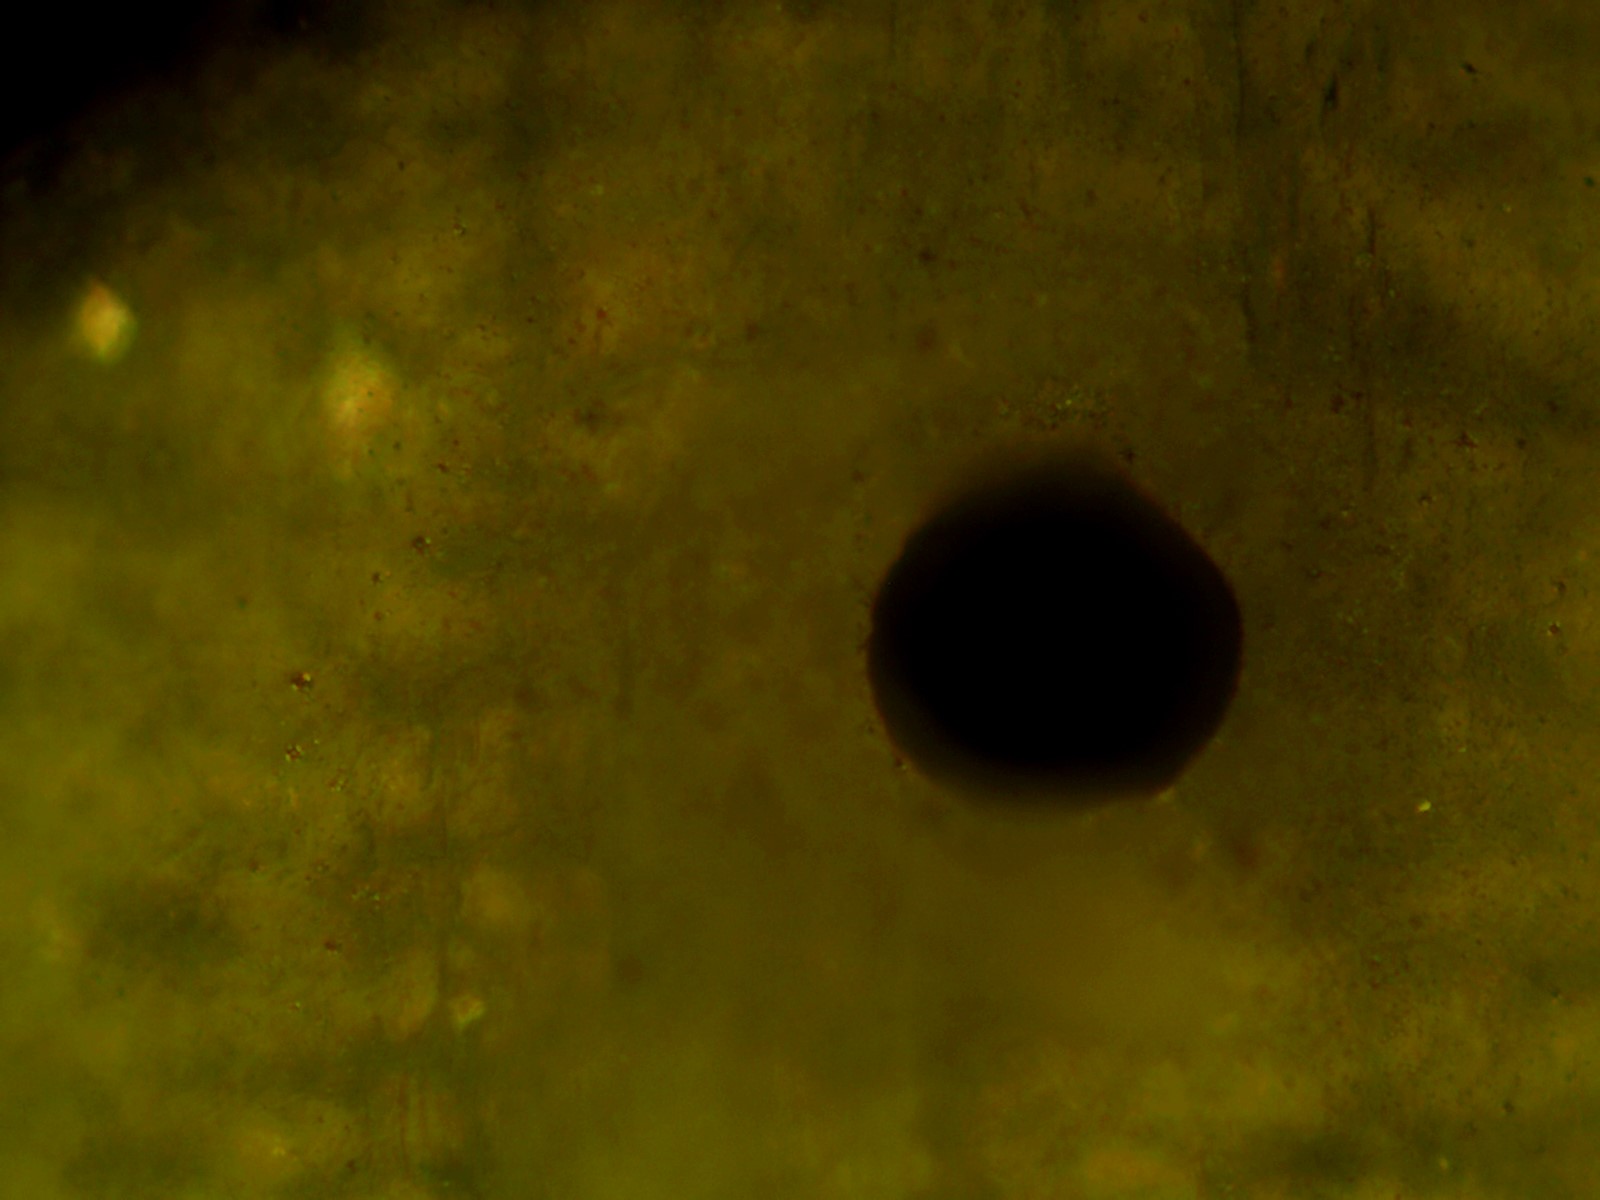
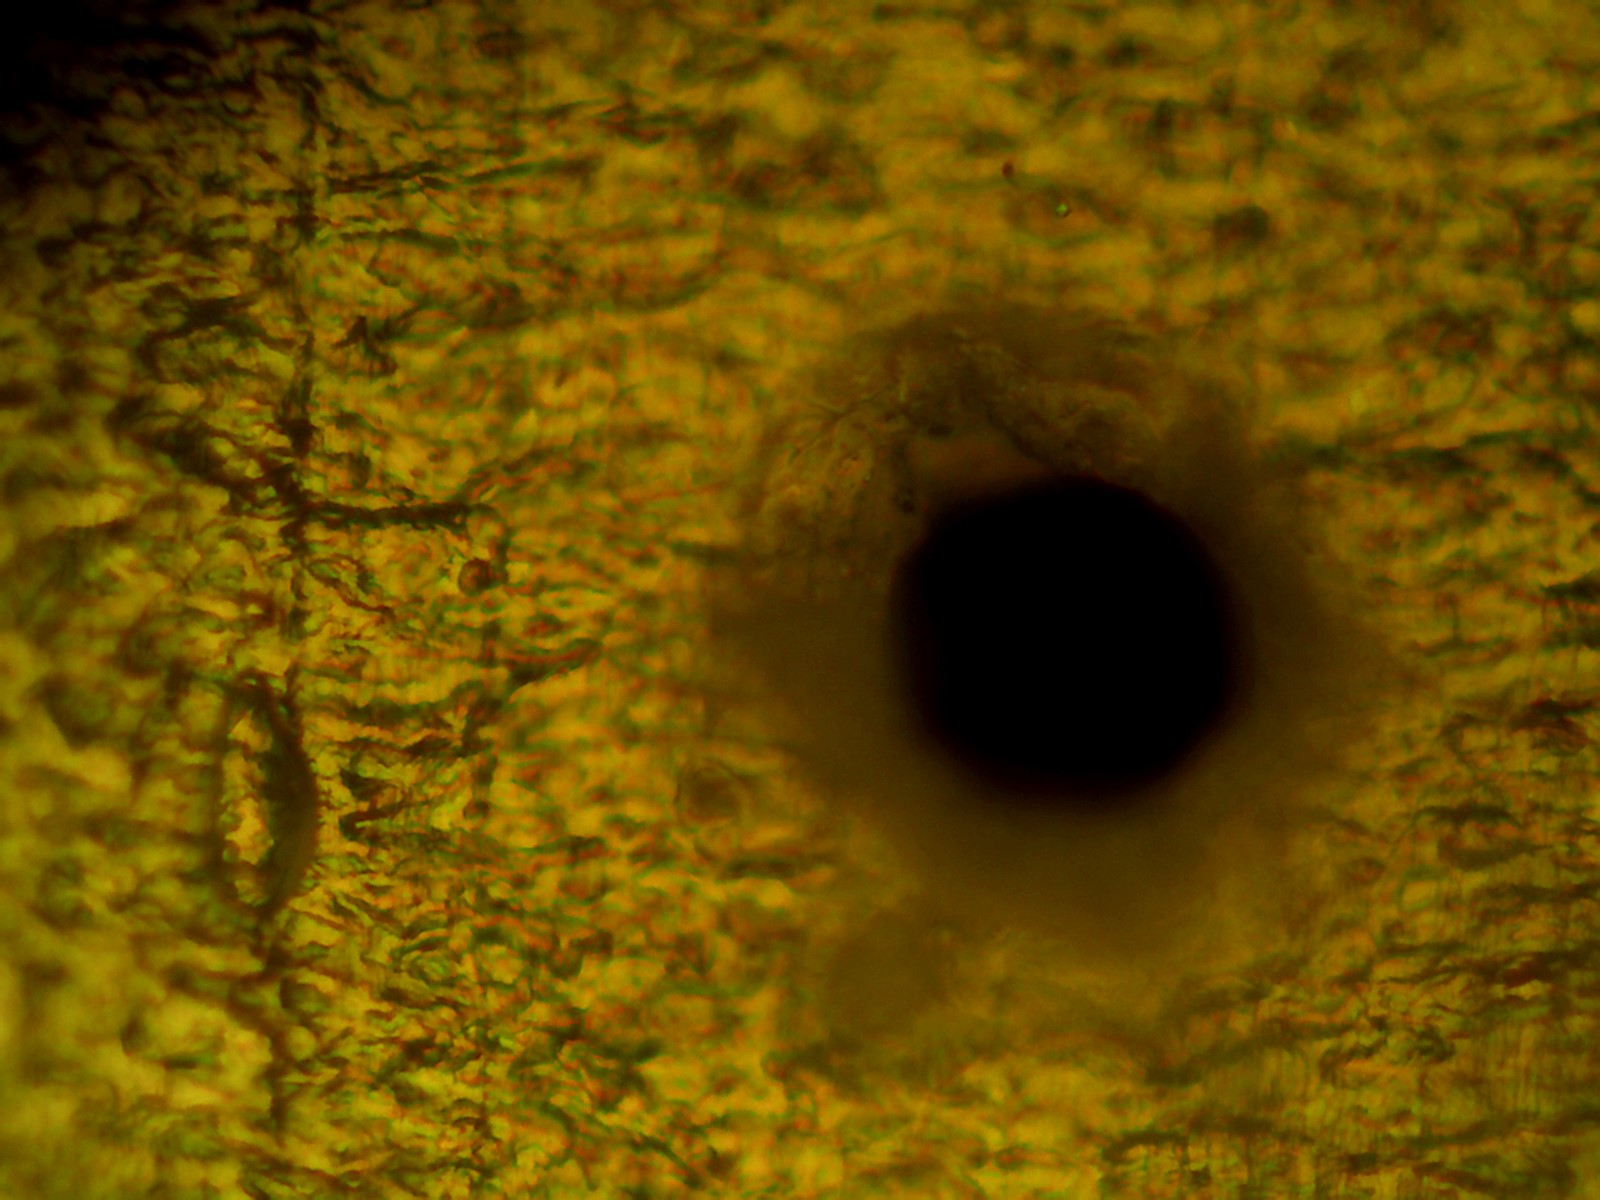
In the second example, our customer requested us to laser drill defects in the form of a through hole in aluminum foil lids used to seal airtight packages for medical devices. They wanted a single micro-hole in a high volume of provided foil lids in four different sizes of 10µm 20µm, 50µm, and 100µm with a ± 10 µm tolerance. We measured a sample of parts in the beginning and at the end of each run to verify we met our customer’s specification and we hit the targeted sizes within 2µm of the client supplied foil lids.
 |
 |
 |
 |
Artificial Defect Testing
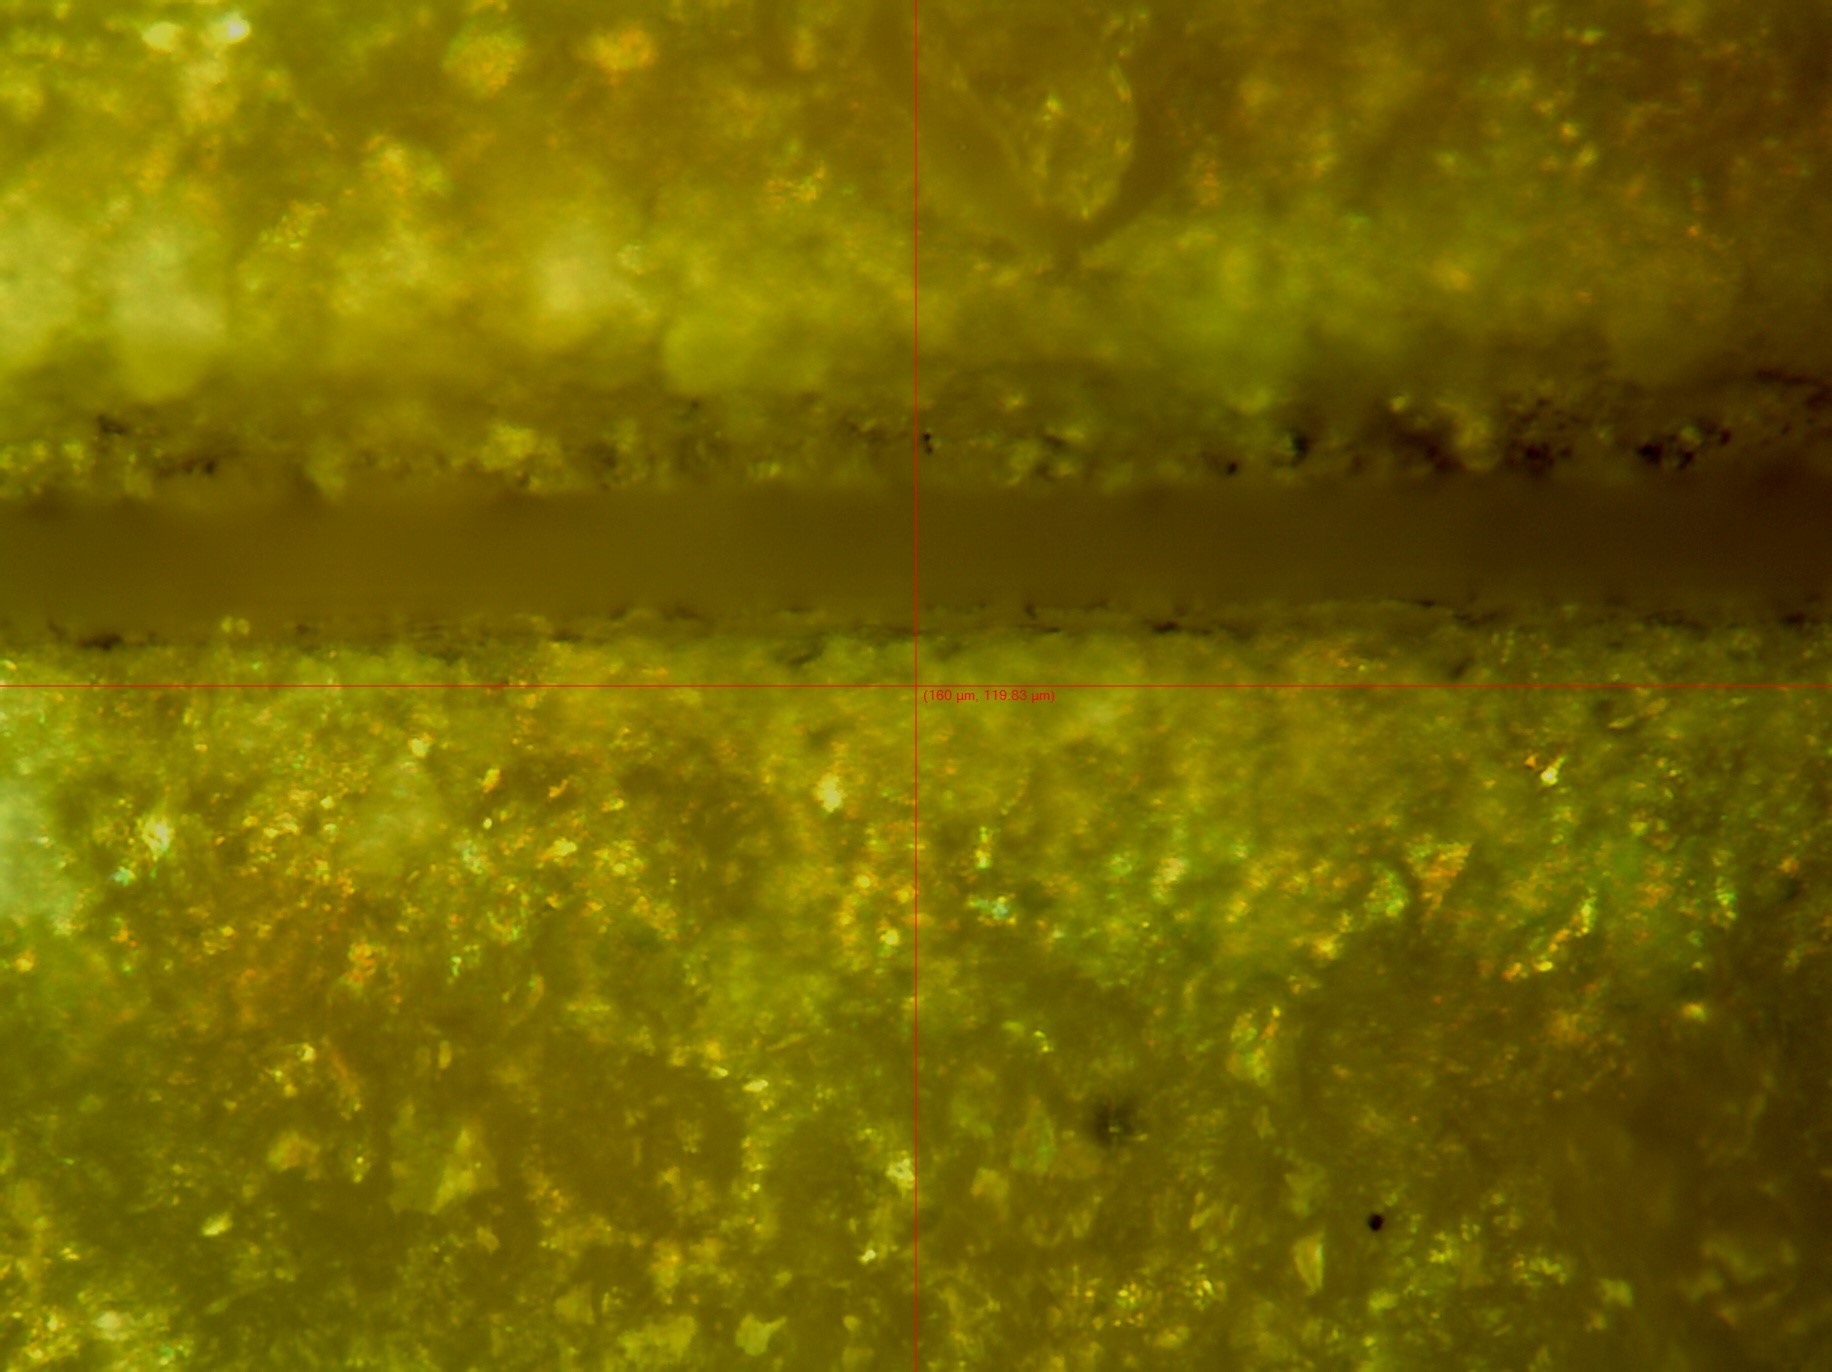
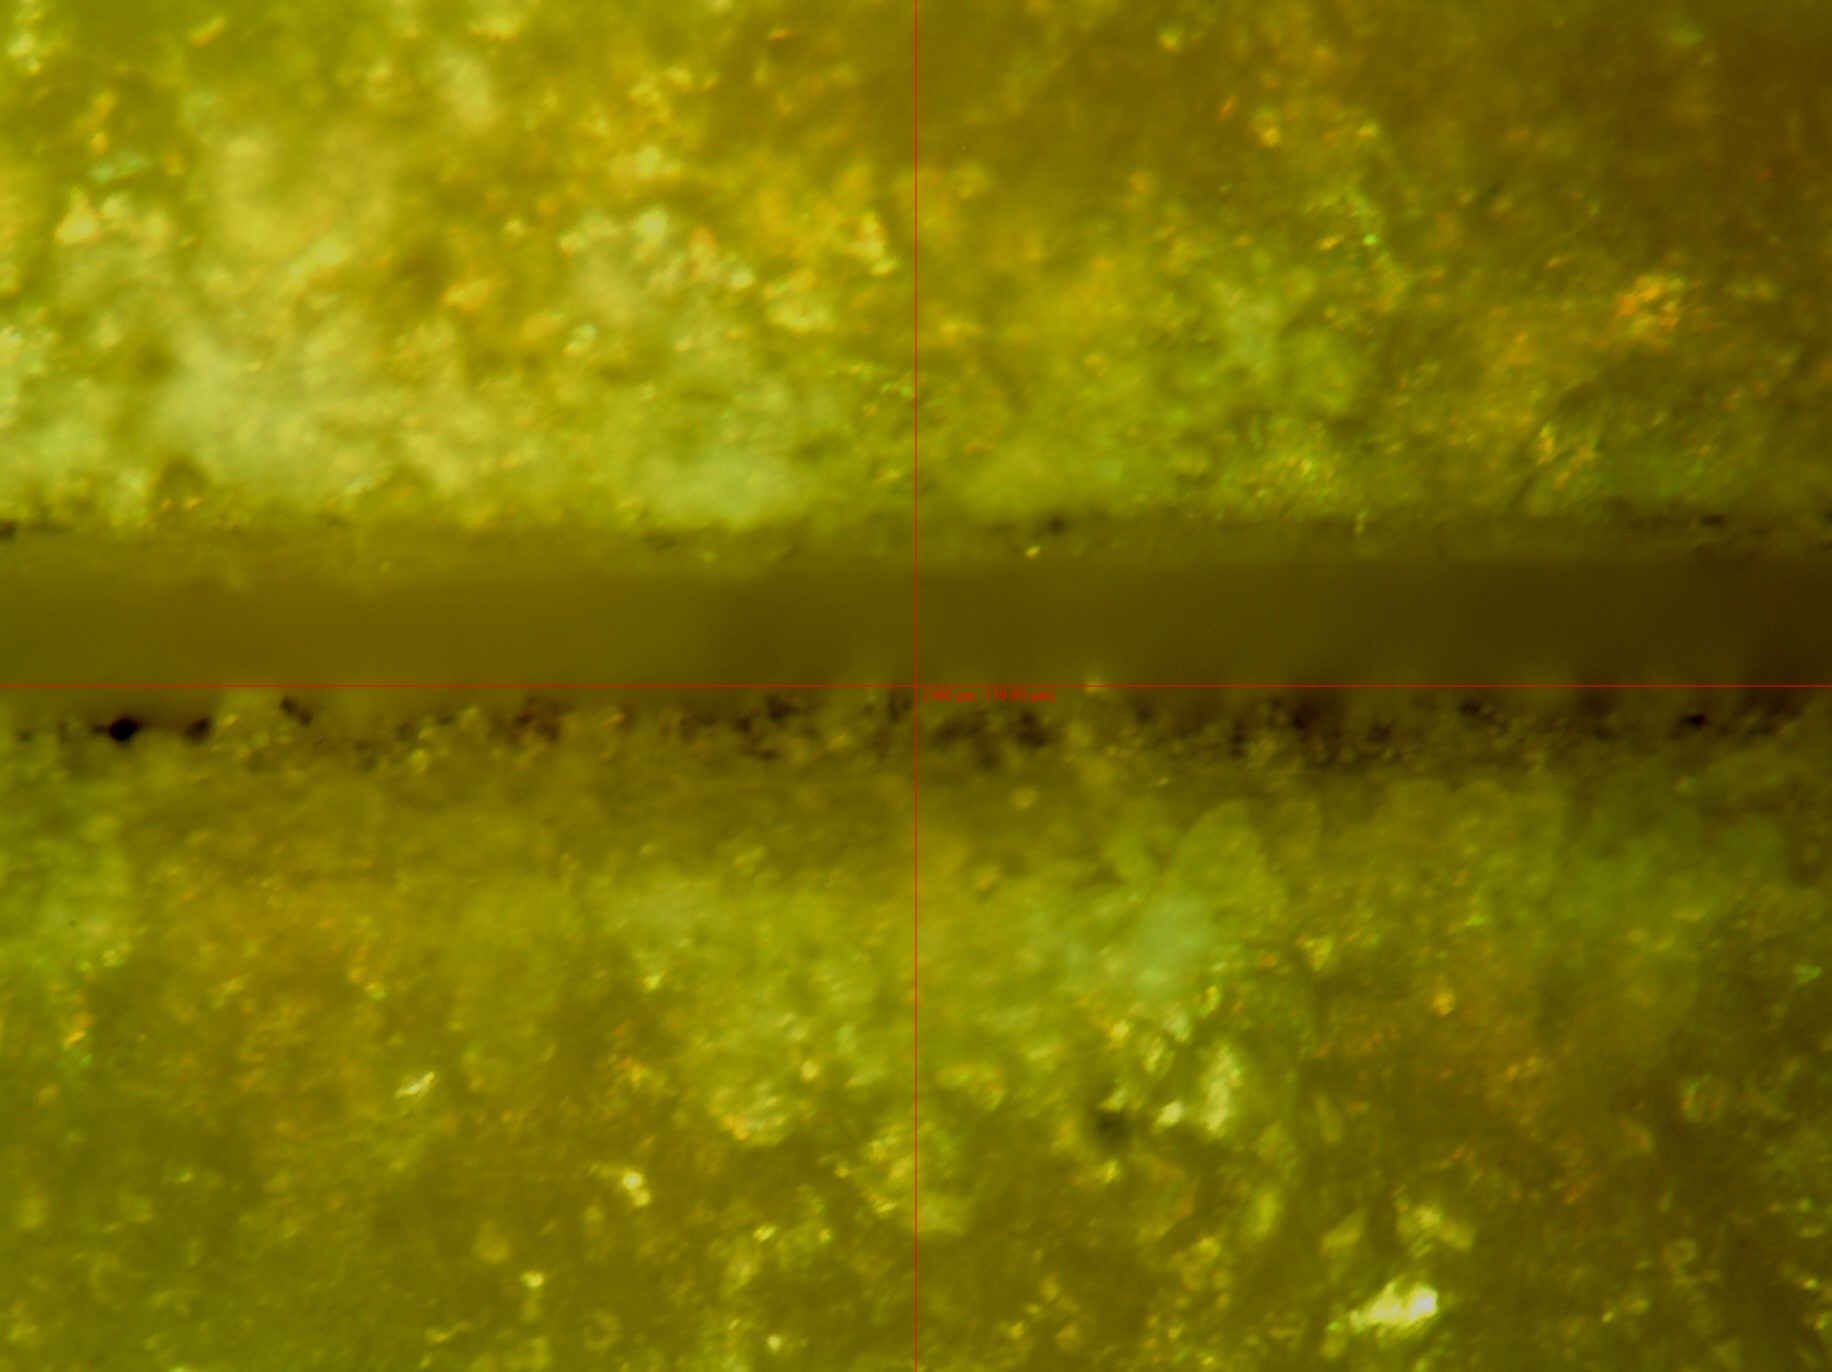
In the third example, our customer requested us to laser machine micro-channels in an Alumina substrate for a control to be used in testing their equipment. Our customer required two series of parts, each series possessed a different unique feature with the same specifications in a designated area along their parts. On these parts they wanted a width of 20µm and a flat bottom with a depth of 50µm. After the channels were completed, we used our precision inspection equipment make sure we removed enough material, so the channels met the width, length, and depth specified by the customer well within their ± 5μm tolerance.
 |
 |
 |
 |

